

Before we get started, I'd like to introduce the reader to the preferable programs, although I'm sure one could improvise this tutorial into their own program.
The first one I'll use is called paint.net.
Paint.net is pretty much your typical XP MS Paint, but with a few extra features, such as layers, transparency, and some fancy effects. For this, we'll keep it pretty simple and only use the first two of those listed extras.
The other program we'll be using is GIMP 2.6. Other versions of GIMP can be used, of course, but seeing as I am unfamiliar with those, u may need to improvise on your own.
First off, u should do a rough sketch of the character u wish to draw. This can be on paper, of on the computer.
If you're doing this on computer, then I suggest opening paint.net and sketching on Layer 1 in a light blue, red, any colour except black, because that is what we're going to use for the lineart later on.
On the other hand, if you've sketched on paper, take a foto of scan that into your computer, and open it with paint.net. Assuming you've used grey leaded pencil for the sketch, it may be a little dark- u want to have a light sketch, although not so light u can't see it. If u go to |Adjustments| |Brightness / Contast| u can pas aan how bright the picture is.
Because I'm lazy, I'm not going to bother posting an image of the sketch, and we're going to verplaats straight to the lineart.
Once u have your sketch, add a new layer to your picture. On this new layer, I like to use a size 2 brush to do my lineart. Because I use a mouse, I use the line/curve tool, but for tablet users, u can improvise with that.
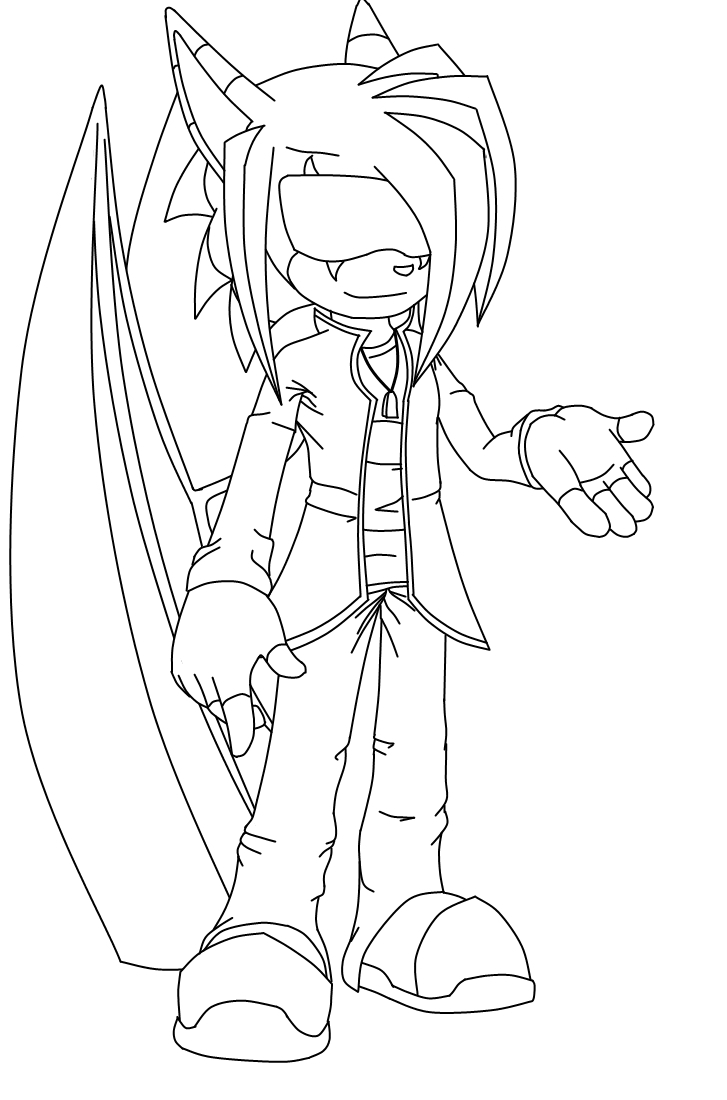
That is my current lineart stage- Although, because this must be a JPEG to uploaden into an article, I had to get rid of the transparency. u should save it as either a .pdn of .tiff file to preserve transparency when working.
What I do next, is change my line/curve tool to a size 3 brush, and go around ONLY the outside line of the picture, to silhouette it in. This takes meer time and you'll need to have some patience to do it, but it makes the picture look a lot cleaner, crisper, and meer professional.
At this point, u may also want to wis your sketch layer. This stage should be done solely on the one layer, with a transparent background.
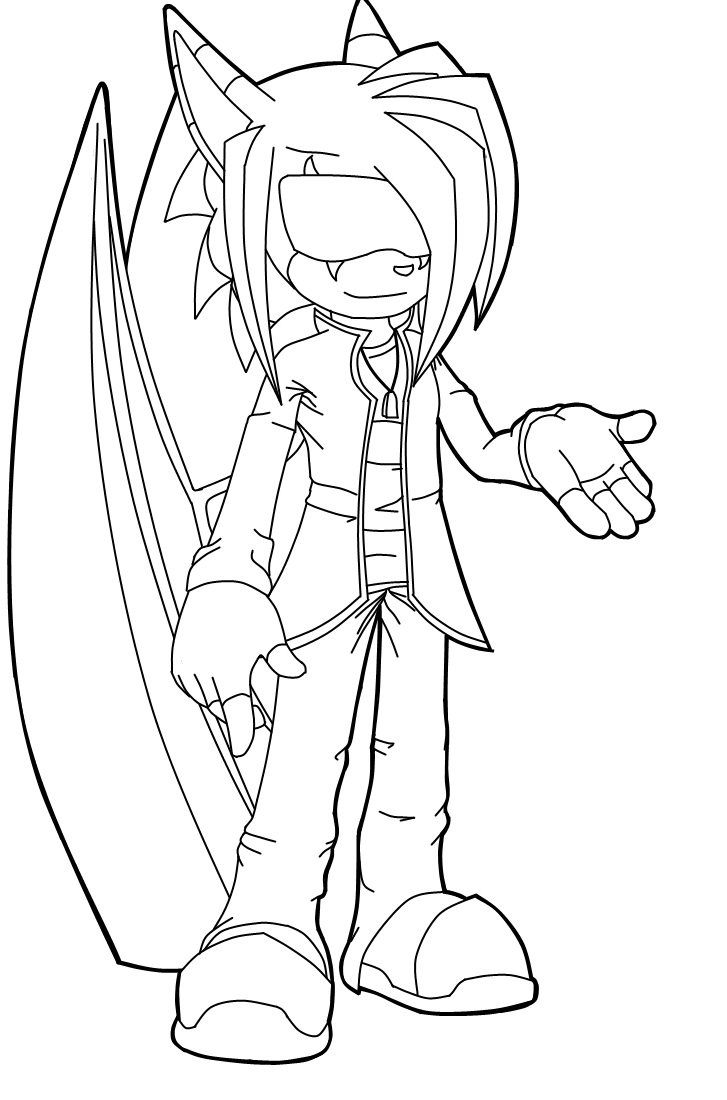
This is what my lineart looks like after I've done that. It looks much nicer, and will make for a much meer striking image when coloured and finished.
That ends the stage of lineart. So, now, we want to colour it!
But first, you'll need to save your work.
If u haven't already, wis any unwanted layers and compress the needed ones, until u have ONLY one layer- Your lineart, on a transparent background.
u CAN save this as a JPEG, but I prefer not to- JPEG files have horrible quality and it'll make colouring it in a lot harder. Instead, I save it as a .tiff file.
Exit paint.net, get your file, and open it in GIMP.
First things first. I like to start with the background- It makes 'smoothing' the character in much easier later on. Give a light source, of if u want to, several. Keep in mind this will effect your shading later on.
To make a background, add a layer, and stack it BEHIND your lineart.
When doing your background, u may want to download some effect brushes- For this, I used a glow brush for the green, and a grudge brush with low opacity for the white.

And there it is. A quick, easy-to-make, but pretty background. I used a total of three layers for that, and then compressed them into one.
Now that's all well and good... But it could look nicer. So we'll add some foreground lights, on a layer above the lineart. u can mess with the opacity of the extra lights layer for better effects.

Here it is so far. I used a three different sparklies brushes on a low layer opacity. This layer, as said, is stacked ABOVE the lineart. This will add a nice glow to the picture later on.
Now, we begin the actual colouring itself.
I use the pencil tool to colour in the picture, on a new layer underneath the lineart, but above the background. As I go, I shade using a black airbrush tool set at low opacity, and a lighter shade of the in-use colour for highlights. Add and merge the colour layers as u go.
A helpful hint for when shading, is to use the Magic Wand tool, aka the Fuzzy Select tool, to choose the area in use before starting.
Once you've finished with colouring and shading, merge all your layers into one, and at long last, save your drawing as a JPEG file. And then it's ready to upload!
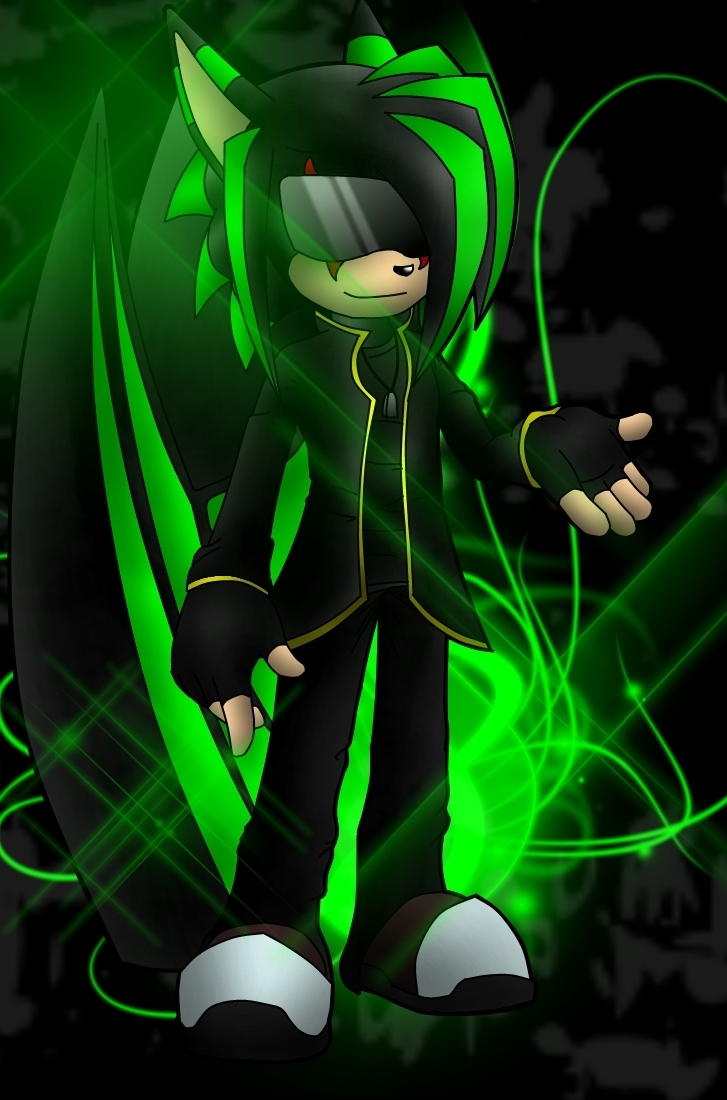
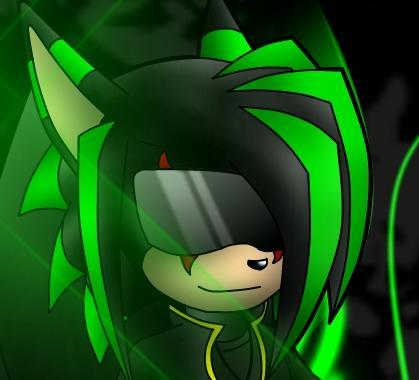
And here we have the finished product of your hard work!
Hope this tutorial helped, and if you've got any further vragen as to how I work, feel free to ask.
Written and copyrighted door Zane Luxuria Zenon
Loud and obnoxious shrieks of utter terror were unleashed through the walls of the deceased man who was only referred to as The Doctor. It was no surprise for people indigenous to the area, which is a grand total of one. Screams happen all the time, and he despises them. The very person who causes the yelling is the one who hates it, irony at it's finest. His name is Dsy, a teenage boy who has Amnesia and short-term memory loss.
"I hate the loud noises, I fucking told you!"
His angry remark was followed door the clanking sound of a cleaver. His generic black clothes were slathered in in blood. He smirked at the decapitated head of yet another victim.
"Another sin for humanity, another strain on my blade."

Midnight Stormcloud
Meh....
If u didn't know, I'll break the sad(in my opinion)news. MephilesTheDark, an awesome artist and a close e-buddy to me, is leaving this spot. Sure I cried, but now...I'm getting kind of angry.
She mentioned this: "It's so damned with recolors...", along with other reasons that she knows herself.
I, now am slightly mad with recolorers. Yes, this issue is argued about constantly, and people just are tired of it. I'm tired of it too, so I'll let this go after a while. So don't expect me in the recolor "war" anytime soon.
But this is not a "PLZCOMEBACK!!!!" letter, that would be....well, stupid, to say the least. I just felt the need to say this. I can understand why she decided to leave, and will not vraag any further.
...I will turn their mourning into gladness; I will give them comfort and joy instead of sorrow.
~Jeremiah 31:13